Tuesday, January 8, 2013

Working with Letters/Words


Working with Words/Letters
Three letter word puzzle cards

White square letters

ABC Word Game (lowercase letters)

Alphabet Game

Sand baggies

Shaving Cream

Dry Erase Boards

Chalk Boards

Roll a word.  Put three or four dice in a clear plastic container.  Have students shake container and then read the word that shows up


Connect Four sight words and letter review
Who stole the letter/word from the cookie jar-give each student words/letters.  Ask “Who stole the word is from the cookie jar”
Have students put alphabet in order on a clothesline. (can also use numbers)

‘Oink’ ‘Crash’ ‘Moo’ etc. (have the words/letters written on index cards.  Have extra index cards with a car, pig, cow, etc.  Have students pull out a card and read the word/letter.  If they pull out pig, car, cow card, they make noise of that animal, etc. and everyone returns their cards.)

Velcro Pictures: pull out a picture and stick it on board.  Students decide what letter that picture starts with, and then they mark out or cover letter on their sheet.  You can switch out letters either uppercase, lowercase, or even try words on sheet.  I use laminated alphabet sheets for this game so we can reuse them often.

Twister Letter/Word  game-write words or letters on duct tape have students either spin or toss a bean bag on the letter/word.  They recite the word or letter before next person’s turn.

Boggle Jr.

Hedbanz Game

Hide letters in rice or corn in a sensory table.  When students find letters, they use that letter to cover the letter on their paper.  Some groups can form words while others cover letters 

Foam and other letter stickers

Magna doodles

The Vowels on the Bus

Cut out letters/words/pictures that start with certain letters from magazines

String letter beads on pipe cleaners to make sight words

I found an activity online called "Scoop and Spell". All you need is an old ice-cream tub (the pint size), letters, and a scooper. The children scoop letters from the tub and spell as many words as possible using only those letters.

Buy clear plastic plates and use ellison dicuts to cut out letters.  Use contact paper to secure them on the bottom.  Students roll the playdough out on top of the plate to form the letter.

Pixie Cups- follow cup to find hidden word-write the word or letter that is under the cup after picking the right cup.

Magnetic Letters

Roll a dice with words/letters and have student say word or letter.

Roll a dice and make a graph for each word or letter that is rolled.

Hangman

Index card word family practice.  Cut two slits vertically in index card so that a long piece of paper will slide through the slits.  Write word family on index cards and write letters on strip.  Pull through to make rhyming/word family words.

Sight word/alphabet bingo

Word Family Bingo

Lilly pad words/letters-have students say word or letter as they hop from one word to the next or say a word or letter and students have to find the lilypad with that word or letter. This game can also can be used with numbers and colors.

I spy…letter, sight word, item that starts with etc. (you can print out word finds and have students find certain words or letters and color or circle them as they find them or say one and have students find it around the room)

Pretend to type words on keyboard or ipad, etc.

Read word wall words/seasonal poster words with pointers.

Write words with pom poms,  popsicle sticks, pipe cleaners, wiki sticks etc.

Play Words with Friends using Scrabble pieces.

Bananagrams, Pairs in Pears, and Apple Letters

Hot Seat
White cut out letters-form words on trays
Roll dice, say the word on the dice, and move forward two spaces for no help and 1 space if you needed a clue.  Any game board can be used for this or you can make your own up.  I bought a book full of game boards from Mailbox that I use for games like this.

Cake Walk-Write words on paper plates and have the students walk on them until the music stops.  When the music stops, the students read the word they are on.

Musical Chairs can be played the same way but with words on the chairs.

Daily Five

I have started the daily five with my preschool and pre-k classes a few months ago.  Believe it or not, I have seen so much improvement in their writing and reading.  I don't set my classroom up exactly like the Sisters; (http://www.the2sisters.com/the_daily_5.html) however have used their ideas and tweaked them to fit a preschool classroom.  I had to go into this very slow, and add on little at the time.  I started out by doing small groups.  One group I would work with while the other group would work on a math box or some other individual/partner work at the table.  This taught them just how to work individually or by asking others for help when I am working with students in a small group.  My group or my assistant's group would work on activities that would prepare the students for the daily five such working on journal entries, playing word games, and reading small groups. Because I am so busy getting in everything else in the mornings, I do not do the Daily Five until the afternoons.  I am usually by myself in the afternoons without any help, so I thought doing this in the afternoon would be a way to help the students to improve without wearing me out.  Both the preschool class and the pre-k class are combined in the afternoon, therefore, I felt like the students would benefit the most from doing the Daily Five.  Below is how I usually run my daily five:
     First, I do some sort of small lesson.  I will give more details of these later, but for now an example of a small lesson I do is journal writing.  I ask the students to turn their thinking caps on and think about what we could write about.  This last week, a student said Easter.  Therefore, I went into more details and asked the students what they would want to write about Easter.  Another child said eggs, so I decided to write about eggs.  I wrote "I like eggs" on the board.  As I was writing it, I had the students help me sound out each word and wrote what they said.  (Kid writing)  Most of my students know how to write 'I' and 'like' because they are our sight words.  Then we sounded out the word 'eggs'.  After writing the words, I ask the students what else I should add to my journal entry.  Most of the students know by now that we draw a picture and write the date. Then, I split the students into groups.  I do not allow the students to choose their groups.  I choose for them because I have different age groups and sometime split them by ability and sometimes I like to mix younger with the older students so the older children can help out the younger ones.

We actually only do four groups instead of five.  We combine Reading to a Buddy and Reading Alone.  I allow them to choose which they would like to do on the carpet.  If they are reading alone, they may read with a puppet.  If they choose to read with a buddy, I have matching sun visors they can wear. The books the students can read (They know when I say 'read' it means they can read the words, read the pictures or retell a story.)  Depending on the day, I will sit out different types of books.  Some days they read or retell big books we read during whole groups.  Other days I will sit out our sight word books or themed books for them to retell or actually read.  Some can read our sight word books because they have two weeks to practice.  The first week, I introduce books to the students and we read them in class.  The next week they take them home in book bags (ziplock baggies) and read them to a parent or another family member.  The third week, I have them out during our Daily Five in our sight word book basket.

See posts: Working with Words/Letters, Working on Writing, Reading with a Buddy or Alone for individual groups and activities we do within groups.

Thursday, October 25, 2012

Nursery Rhymes

I love nursery rhymes!!!  Below are just a few activities my students did while learning about nursery rhymes.  I added pictures from my students' books to show you their actual work!

Jack Be Nimble:  Of course we used our gross motor skills and jumped over the candle stick!!! The students also wrote their name, cut them out, and pasted them over the word Jack.  They also crossed out Jack's name and wrote their name and drew a picture of themselves jumping over the candlestick.
My students also circled sight words or letters in the nursery rhyme depending where they are academically. 

1,2 Buckle My Shoe: During alone group, students traced and tried to write on their own the numbers.  Alone group is a group where I explain the rules to the students as a whole group what they are supposed to do.  Then, we it is their turn to be at the alone group, they try to remember the directions and work on their own without any help from the teacher or assistant. If they need help, they may ask the group leader and then "Three before me." 


The students also read this story from a sight word book where they are beginning to learn the basic knowledge of books.  We are learning author, illustrator, front and back of book, and reading left to right. 

The Itsy Bitsy Spider:  This was probably my students' favorite nursery rhyme.  For this one, the students made the house look like their own house.  They then were asked to go home and share this story with a family member. We have been using Daily Five in our classroom, therefore, the students are learning how to retell a story and picture read.  I encouraged them to read in one of these ways; however, some could actually read the words from memory. 

There was an Old Lady: The students were asked to make this simple shoe into a house.  Many students chose to draw a 'bunch' of kids on their shoe to remind them of the story.  As you can see, the students have had handwriting practice with all of these activities by tracing the title of each rhyme,  While learning this rhyme, they also 'spied' certain letters or sight words with a magnifying glass depending on where they are academically. 

Humpty Dumpty: The students drew a face on Humpty.  They also continued to search for sight words and/or letters. The students would have to read the sight words or say the letter before they could circle the letters/sight words. 
 Little Miss Muffet:  The students made curds and whey.  They cut long pieces of yarn for cutting practice and glues the string on the bowl...perfect for fine motor skills!

Hickory Dickory dock:  We learned the difference between second and minute hands on the clock as well as wrote or traced numbers depending again on what they are working on in their group. 


There you have it in a nutshell what my students have been working on the past few weeks with nursery rhymes.  They have also acted out most of these rhymes, read sight word books, retold the rhymes with a puppet or during buddy reading, and sang songs about each of these rhymes.  Jack Hartman has a CD with several nursery rhymes on it.  To end our nursery rhyme theme, my students participated in a Nursery Rhyme Olympics.  Check out Hubbard Cupboard's sight for ideas to use for your own Nursery Rhyme Olympics! 

Pumpkin Fun!

This week was Red Ribbon Rally week! We had so many activities planned for this week planned for that, I decided to use this week as a review week and an end to our P/Pumpkin week! Therefore, we decided to have a fun day with pumpkins! My students loved every minute of it! We mixed science, math, sensory, fine motors and literature into our pumpkin activities.


One group observed the pumpkins by using their five senses: (used an observation sheet from http://www.2teachingmommies.com/)
 *We looked at the outside and the inside of our pumpkin and drew a picture of each.
 *We smelled the inside!  Some students thought it smelled like wonderful flowers while others thought it smelled more like a skunk!
 *We touched the pumpkin and had to decide if it was bumpy or smooth or soft or hard.
 *We tasted baked seeds and had to decide if it was salty, sour, or sweet.
 *We even listened to our pumpkin to see if it made noise!


Another group measured our pumpkin!  First, they estimated how many cubes tall they thought our class pumpkin was.  Then they measured the pumpkin with their cubes to see who's guess was the closest.  Our pumpkin was 18 cubes tall!!!! Wow! What a big pumpkin!  During this group, they also estimated how many seeds they thought our pumpkin had in it.

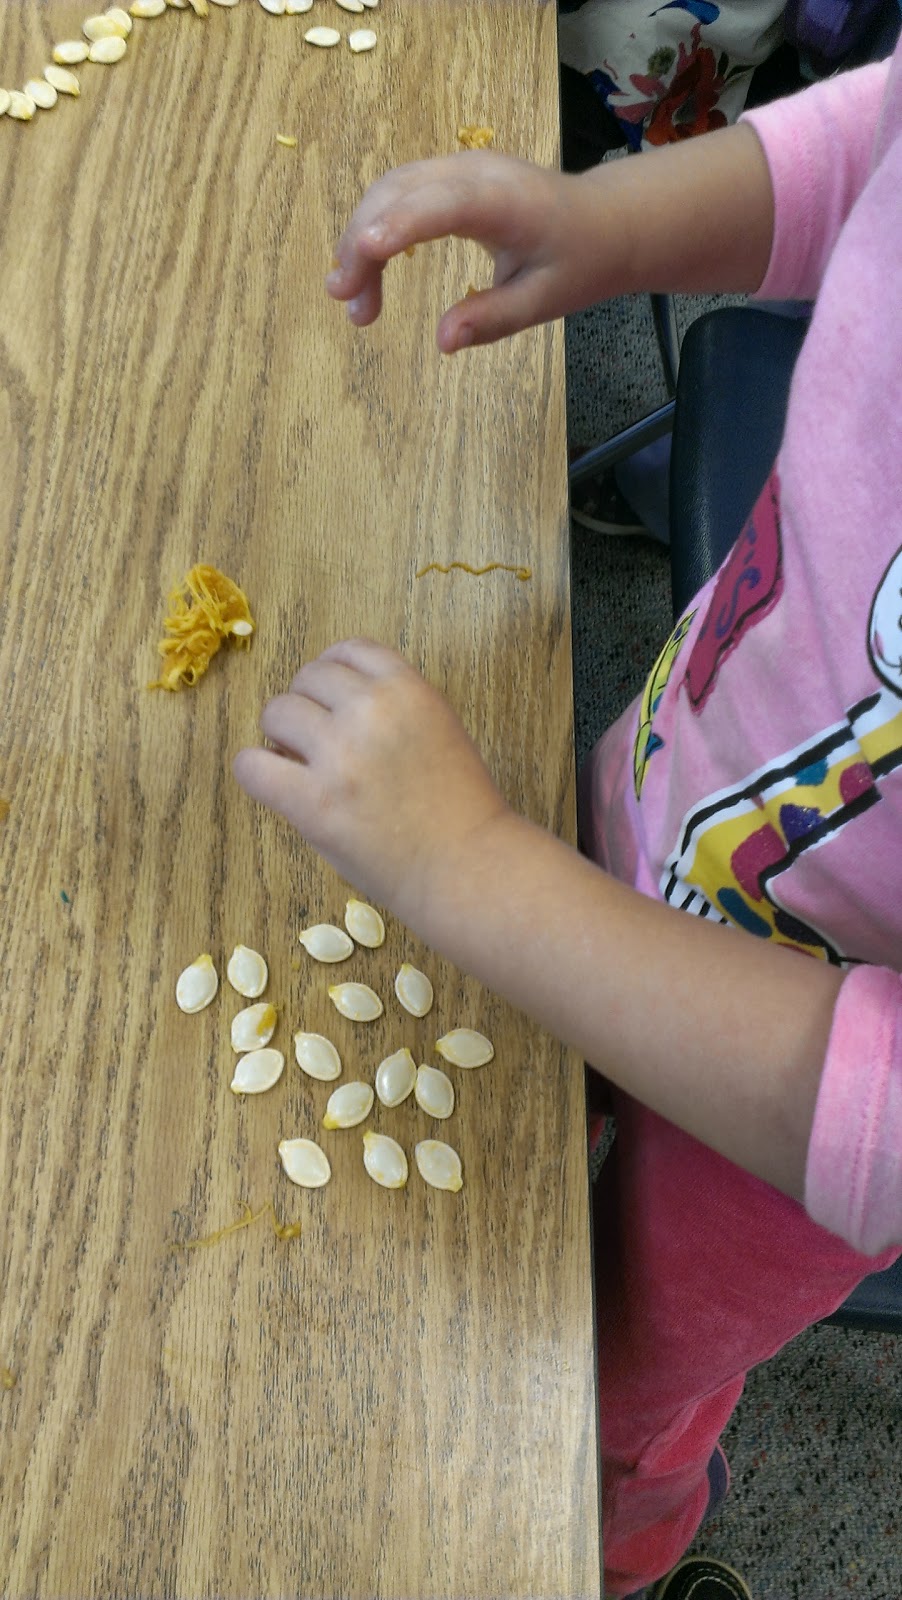
They reached inside the pumpkin and pulled out as many seeds as they could! The facial expressions were priceless! You would have thought these students have never carved a pumpkin before!

My last group was my alone group.  The students colored, cut out, and put in order a book about a pumpkin's lifestyle!

To end our pumpkin unit, we sorted small pumpkins by the height of their stem. (The students received these pumpkins from a local pumpkin patch during a field trip.)  They have talked me into letting them paint these pumpkins now, so I plan on having some pumpkin face painting next week!


We added to this theme this year by allowing the students to pick pumpkin seeds out to count.  We had a competition on how many each student could scoop out until they were all gone.  Most students loved getting the guts out! They then took the guts to the table to sort out the seeds from the guts.  They put their seeds into a baggie with their name on it.  The next day we sat in a circle and took turns counting  our seeds.  (We used two days for this with our short attention spans.)  We then used technology and had our students type in their amount on a calculator!